Bedding Basics: Mattress & Pillows for Doll Bed
I’ll begin with an apology. I intended to get these instructions posted yesterday. However, Mr. Video came home sick from school, and the better part of our day was spent at the pediatrician’s office and the drug store.
Now…I can continue this post, but not before I include the following disclaimers…
I am NOT a particularly talented seamstress.
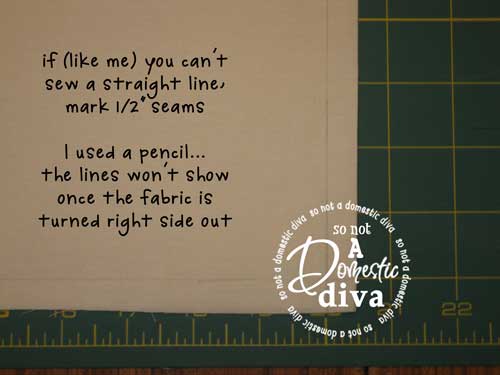
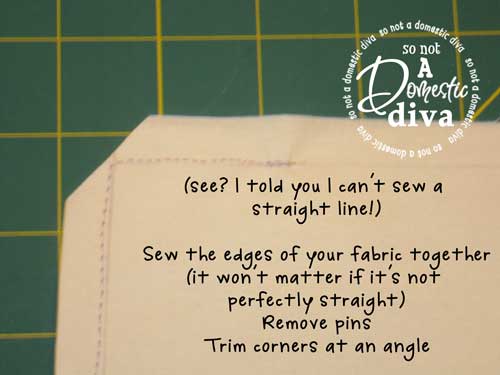
I can NOT sew a straight line unless I draw one on the fabric I’m going to sew (and sometimes even that doesn’t help!).
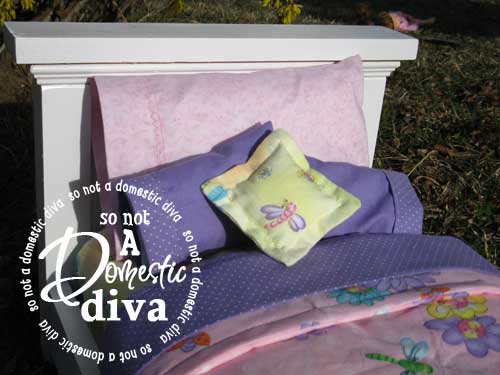
Having said that…if I can make mattresses and pillows for the adorable farmhouse doll beds I built last week, you can make them, too.
Okay…including that pic was gratuitous use of the only good photo I’ve ever taken in my life…so below is a photo that shows my true photography talents. As you can see, I take pictures about as well as I sew.
The above photo is the first mattress I stitched. The length of it was perfect, but I thought it was a bit skimpy width-wise. Once it was made up with all the bedding, the slightly too-narrow mattress wasn’t noticeable.
I made sure I cut my fabric a bit wider for the second mattress.
To create the mattress and three pillows you will need the following:
(NOTE: The measurements below are designed to fit the modified bed I created from Ana White’s awesome plans. If you’re planning to build a different sized bed, keep reading. I’m going to include simple instructions for calculating fabric sizes based on bed width later in this post. )
SUPPLY LIST
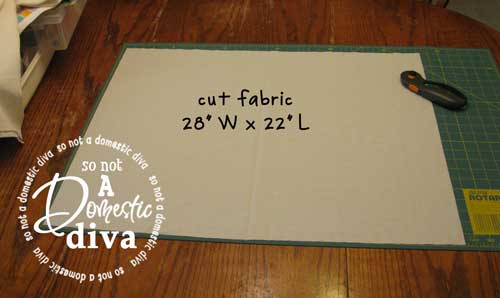
- (1) piece muslin or other light-colored fabric cut to 28″ W x 22″ L for mattress
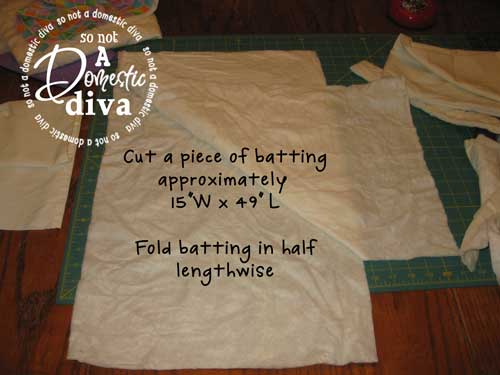
- (1) piece of quilt batting cut to 15″W x 49″L to line the interior of the mattress
- (2) pieces muslin or other light-colored fabric cut to 10″ W x 6-1/2″ L for large pillow
- (4) pieces muslin or other light-colored fabric cut to 6″ W x 5″ L for two medium pillows
- light-colored thread
- fiber fill
- Measure the width of your bed…make sure you measure inside the bed rails.
- Multiply your measurement by 2.
- Add 2 1/2″ to allow for the depth of the mattress and the seams.
- Example: If your bed measures 15″ wide, you would need to cut your fabric 32 1/2″ wide (15″ x 2 = 30″…30″ + 2 1/2″ = 32 1/2″)
TO MODIFY THE WIDTH OF YOUR QUILT BATTING
- Measure the width of your bed…make sure you measure inside the bed rails.
- Add 2 1/4″ inches to that measurement to allow for overlap of the batting edges inside the mattress.
- Example: If your bed is 15″ wide, cut your quilt batting to 17 1/4″. Heck, you could even cut it 17 1/2″ wide. It’s not as important that the batting measurements be as precise as the muslin measurements, but when it comes to the batting, you’re better off cutting it bigger than cutting it smaller.
Although I was absolutely sure that I had muslin in my fabric stash, I was wrong! I had some duck cloth but decided it was too rough to make good bedding. Since it was 10 o’clock at night and my closest fabric store (40 minutes away) was already closed, I began searching the house for a suitable alternative. I found a set of queen sheets that somehow didn’t get tossed when we upsized to a king bed a couple years ago. Hello, mattress and pillow cases!
Once you’ve trimmed your corners, you’re going to create a box pleat. I’d never sewed a box pleat until I made these mattresses, and I wasn’t sure exactly how to go about it. I scoured the web for video and other tutorials, and I finally figured out how to do it. I then decided to make…gasp!…my first video to share this information. Like I said, it’s my first video, it was shot with my point-and-shoot Canon, so if it lacks in artistry, please forgive me. And if you happen to notice the slurred “s” sounds…no, I haven’t been drinking and I don’t normally have a lisp…I’m on day two of antibiotics for an abscessed tooth and the left side of my face looks like I’m storing up nuts for the winter.
You’re going to want to box pleat all four corners of the mattress casing and trim the points.
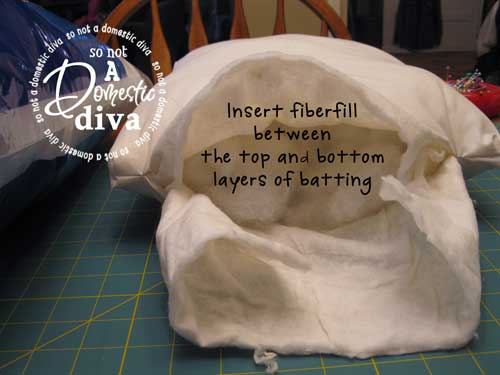
Now it’s time to turn your mattress casing right side out, stuff and stitch.
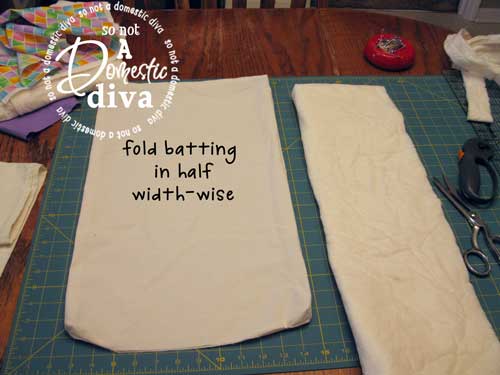
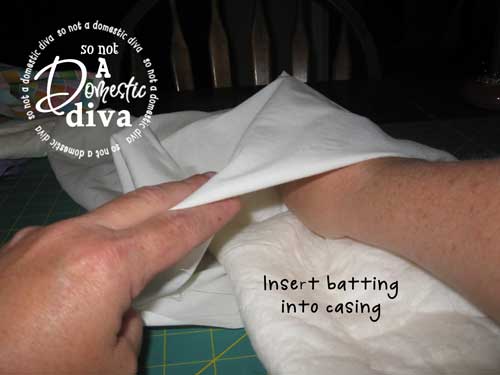
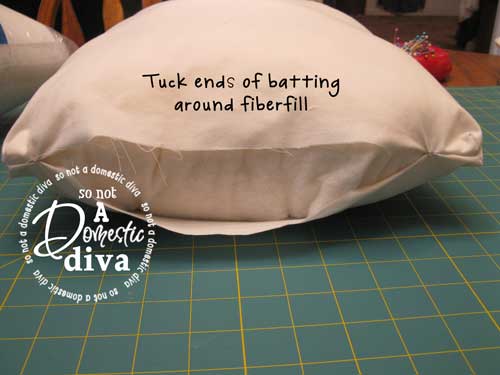
One of the problems with stuffing pillows (or in this case mattresses) with fiberfill is that all too often you end up with Lumps, Humps, and Bumps. To avoid the dreaded LHB’s you can line the interior of the casing with batting before stuffing it with fiberfill.
You now have a completed mattress! Woo hoo! It’s adorable just like it is, but I personally like to tuft my mattresses. It’s little detail that packs a lot of punch.
Repeat this process, but this time measure 5″ down and 3″ right and 5″ down and 3″ left to mark the points for the two bottom tufts. Using a pencil or other other marking device, mark the spots where your pins were placed then remove the pins. Turn the mattress over and repeat the process to mark all five tufting points.
Push a threaded needle through a mark on one side of the mattress all the way through to the corresponding mark on the other side of the mattress. Leave a tail of string hanging out on the first side. Now send the needle back through the mattress making sure not to go back through the same hole (leave about 1/16″ space).
You can control the depth of your tuft by how tight you pull the thread. The more you pull, the deeper the tuft will be.
In order to assure that your tufts stay in place, repeat these steps to secure the tuft with a second stitch.
Tuft the other four marks remaining on the mattress.
Congratulations!!! You now have a finished and tufted mattress for your adorable farmhouse doll bed.
Compared to the mattress, the pillows are super easy. But that tutorial will have to wait for another day because this was has been entirely too long as it is.







You are just Amazing!
Thank you for such a great tutorial!
I’ll be sure to link this tutorial on Running With Glitter after I finish!
xoxoxo
Kelly
Kelly, thanks so much for the kind comment. I appreciate it. I’m going to get more of these tutorials up and running…and I hope it’s soon. Right now I’m *swamped* and am not finding enough time for two of my biggest passions…building or blogging.
I made this and linked you! Thank you again!
http://runwithglitter.blogspot.com/2011/06/farmhouse-doll-bed-for-aubrey-rose.html
As a girl who builds, but does not sew, I loved this tutorial. Definitely looks doable, even for me. Thanks so much!
Marion,
Trust me…as a woman with nearly NO sewing skills whatsoever (note the lines I have to drawn in order to get a straight seam), it is doable. If you don’t own a sewing machine, you could even do this with FabriTac or some other sort of fabric glue. Thanks for your comment. Glad to know I’m not the only one who loves my power tools more than my Singer!
Lea
I made this, and just wanted to note that you should NOT double the length of the mattress. By doubling the width you have already made a mattress just exactly as long as you need it! 🙂 I cut it with the doubled dimensions and then went…heyyyy….wait a minnit!
Sabrina,
Thanks for reading and for catching one of my many mistakes.You are absolutely correct. You do NOT need to double the length of mattress…you do, however, need to add the extra 2 1/2″ to allow for seams. Thanks for the sharp eye and for getting me straight! I’ll correct the post right now.
Lea
Thank you so very much my husband builds baby beds and I took on the task of creating the bedding dont know what I was think dont know a thing about how hard could it be Huh iv been trying to sew a night gown to go with it and gave up on it the instructions are ridiculous I have to say yours was so easy I really think I can do it
now thank u thank u so much. Much appreciated. Nancy
Just making my first bed and bedding for it, after finding out how expensive the AG brand is. This was so much help – and the video was too!!
This is awesome. Thank you. I’m totally inept with cutting wood and sewing, but I think I might be able to do this mattress. I’m making a bed for 16 inch dolls, but due to my inability to use cutting tools without drawing blood, I’m gluing wood and making a platform bed. The mattress was eluding my ability to figure it out, so a quick Google search brought me here. And this is wonderful. Your instructions are nicely detailed and simple enough for me to follow. 🙂
Would you make a mattress, comforter, and pillow for the dollbed that I have? I was hoping to find something online. The length is 21″ and the width is 10 3/4″.
Judi,
As much as I’m flattered by your request, my schedule just wouldn’t allow for me to tackle this project for you. I’ve become a member of the “sandwich” generation, and between my elderly parents and my young kids, I’m booked solid. Have you checked etsy? There are SO many talented people out there offering their handcrafted items for sale. Wishing you luck in finding exactly what you’re looking for!
Lea